DIY Calculator to Make Your Own E-Liquid
DIY e-liquid calculator user guide
Making your own DIY e-liquid becomes simple, fast, and precise thanks to our mixing calculator. In just four steps, you get the exact dosages of base, concentrated flavor, and nicotine boosters adapted to your setup.
1. Choose the total amount of e-liquid
First indicate the desired final e-liquid volume (for example 50 ml, 100 ml, 500 ml, or 1 liter).
This volume corresponds to the sum of:
- the e-liquid base,
- the concentrated flavor,
- nicotine boosters.
Producing large quantities allows you to optimize your stock and achieve significant savings compared to ready-to-use e-liquids.
By filling in the calculator fields, it automatically calculates the exact quantities of each ingredient to obtain a balanced e-liquid that complies with manufacturer recommendations.
2. Adjust the nicotine level
Then select the desired nicotine level (in mg/ml).
The calculator automatically determines:
- the number of boosters needed,
- the exact volume to include in your mixture.
If you do not know your ideal dosage, a nicotine level test can help you determine the appropriate level based on your daily cigarette consumption.
3. Set the PG/VG ratio
Now select the desired PG/VG ratio for your DIY e-liquid. The PG/VG ratio corresponds to the composition of your base and boosters:
- PG (propylene glycol): fluidity and flavor delivery
- VG (vegetable glycerin): vapor density and smoothness in the mouth
This information is always indicated:
- on the product sheet of the base and boosters,
- directly on the bottles.
How to choose the right PG/VG ratio?
- A PG-rich base (e.g., 70/30 PG/VG) is more fluid and emphasizes flavors. It is recommended for low-power electronic cigarettes and high-resistance coils.
- A VG-rich base (e.g., 30/70 PG/VG) is thicker, produces more vapor, and is perfect for powerful subohm devices, while limiting leaks.
- If in doubt, a 50/50 PG/VG base remains the best compromise, compatible with most electronic cigarettes.
4. Indicate the dosage (dilution rate) of your flavor?
Concentrated flavors are flavor concentrates that should never be vaped alone. The dosage or dilution rate corresponds to the percentage of flavor to be included in your final mix. As a general rule, this rate is between 10% and 20%, meaning the flavor represents about 10 to 20% of the total volume of the e-liquid once the recipe is finalized.
👉 This dilution rate is always indicated on the product sheet of each flavor.
Some manufacturers provide several percentages depending on the PG/VG ratio of the base used. In this case, it is recommended to note the value indicated for a 50/50 PG/VG base, then select your actual ratio in the calculator. The DIY calculator automatically adjusts the dosage to ensure optimal flavor rendering.
What do you need to make a DIY e-liquid?
✔️ Essential ingredients
- Neutral base (with or without nicotine)
- Concentrated flavoring
- Nicotine boosters (if you want a nicotine-containing e-liquid)
✔️ Additives (optional)
E-liquid additives allow you to customize your recipe: sweeter, fresher, rounder, more indulgent, or more intense. They are used in small amounts and add a finishing touch to your preparation.
✔️ DIY accessories
For precise dosing and clean preparation, some accessories are highly recommended:
- Graduated bottles,
- Syringes or pipettes,
- Beakers,
- DIY bottle opener to easily remove the tips,
- Small capacity empty bottles to carry your e-liquid.
DIY e-liquid: preparation steps
Once the dosages provided by the DIY calculator are done, all that remains is to assemble your recipe:
- Wear protective gloves if you handle nicotine.
- Pour the indicated amount of base, then add the nicotine boosters corresponding to your final level. Close the bottle and shake vigorously.
- Let rest for one to two minutes so that air bubbles disappear.
- Then add the exact dosage of concentrated flavor, then shake again.
- During the entire maturation phase, shake and lightly air your e-liquid once a day.
Maturation (steep) time of your DIY e-liquid
Maturation, also called steeping, allows the flavors to fully develop. It should be done away from light, in a dry place, at room temperature.
Recommended resting times according to the type of flavor:
- Simple fruity flavor: 0 to 5 days
- Complex fruity flavor (recipe only fruity): 3 to 7 days
- Mint, anise, licorice, coffee, vanilla flavor: 1 to 2 weeks
- Gourmet flavor: 2 to 3 weeks
- Classic flavor (tobacco): minimum 2 weeks
Our selection for your DIY preparation
DIY
Savings
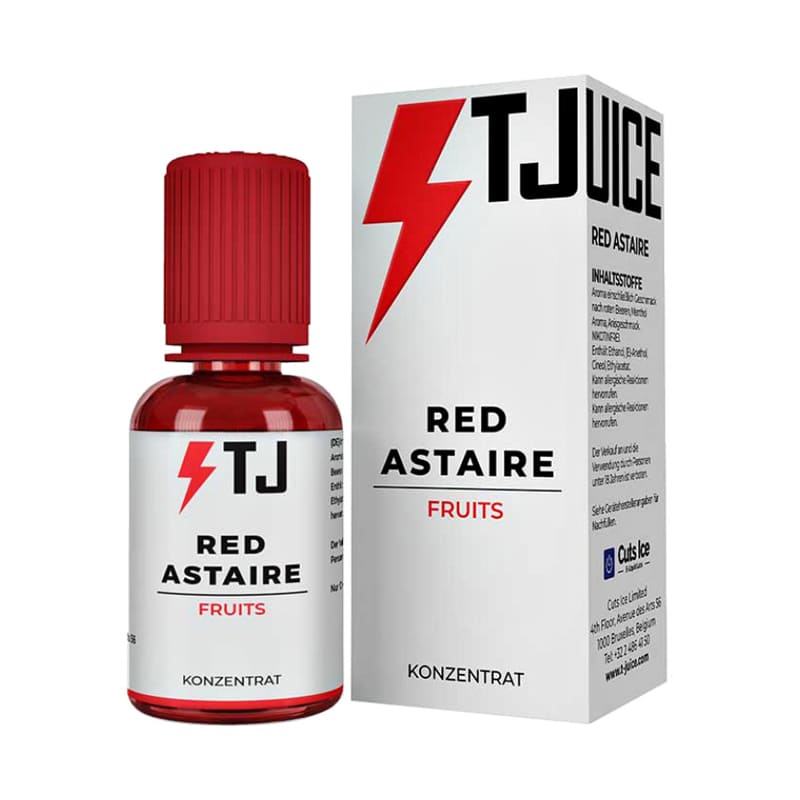
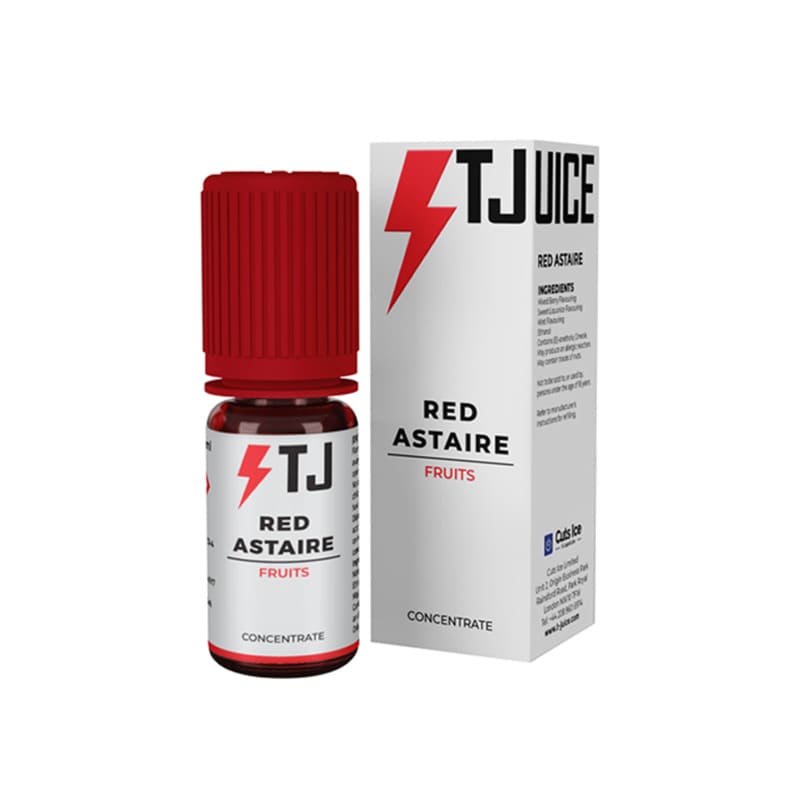
T-JUICE Red Astaire - Aroma 10ml/30ml
DIY
Savings

DIY
Savings

DINNER LADY Desserts Aroma Lemon Tart 30ml
DIY
Savings